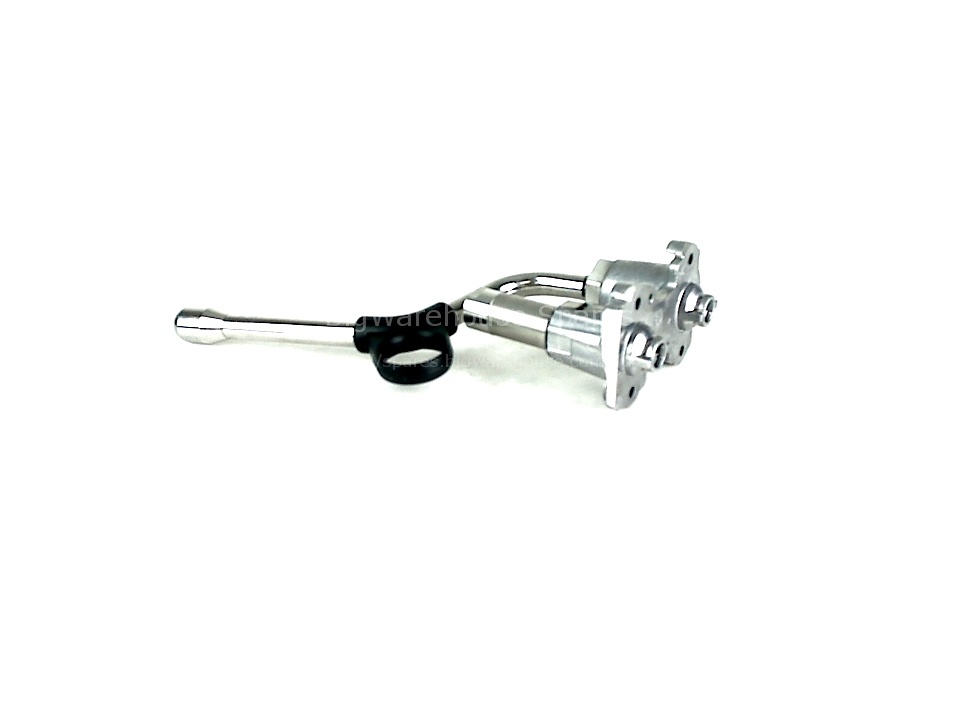
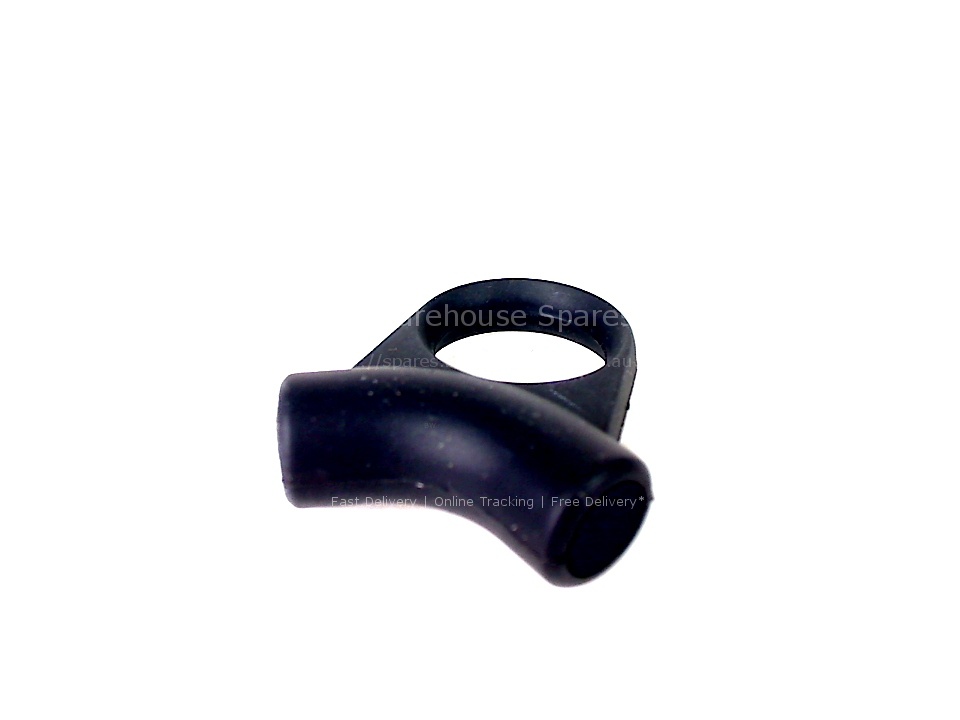
"See below"
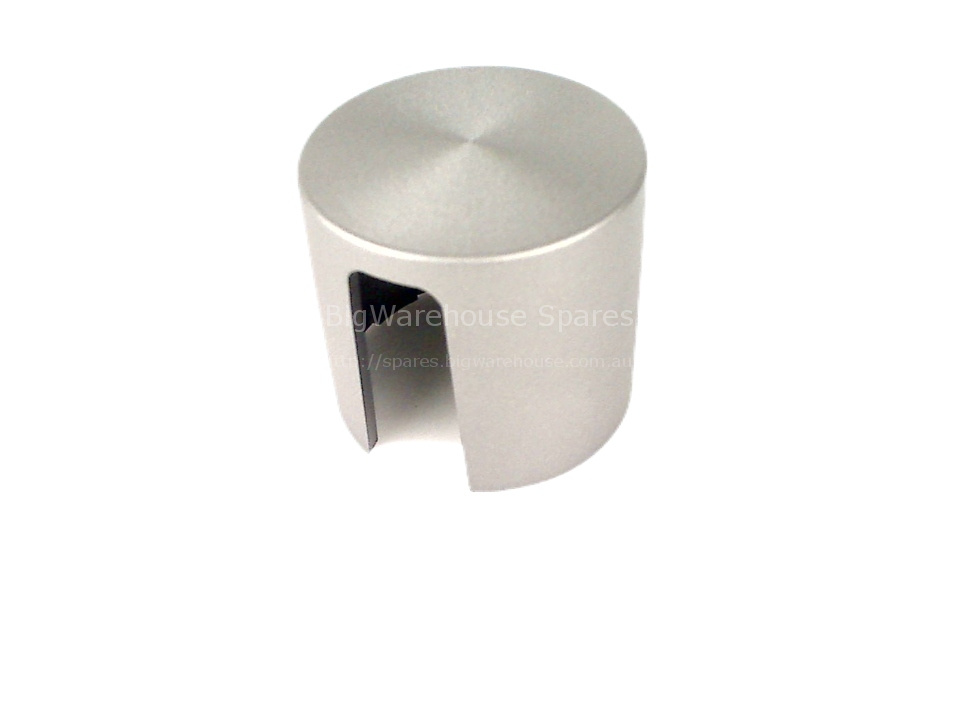
STEAM DIAL ACTUATOR
Location Ref: 04
Exploded diagrams, Schematics and other documents
Installation
John
QLD
"Pull the outer cover off the steam control handle, then use a screwdriver to remove the damaged actuator and replace with the new one. i actually also replaced the steam control valve as it had been leaking - the cause of damage to the actuator."
Paul
NSW
"See youtube video. valve not provided with screw to fix to lever body. used small self tapper as could not find a screw to fit. be sure to fit existing silicone o-rings top and bottom. used old top steam line connector rather than remove and fit the new one."
Allen
BAY OF PLENTY
"Replace steam valve"
Clive
QLD
"1. undo screws holding lid and upper back panel and rest lid over the back. 2. un-clip plastic cover over steam valve handle. 3. remove the steam valve micro-switch mechanism by undoing the two screws in the top right hand corner just above the steam ball valve actuator actuator. 4. undo the three screws holding the steam handle to the steam dial actuator and remove. 5. undo the center screw holding the steam dial actuator to the ball valve and withdraw actuator. 6. important note: place the actuator in the off position and note the orientation of the actuator as it has to be replaced in the same way. 7. remove the two screws that secure the saddle holding steam ball valve to the metal bracket in the case . 8. remove lower retaining clip and upper retaining clip which secure the steam valve tubes. 9. remove the steam ball valve and replace with the new one. 10 note ensure that the two orange silicon o rings on both tubes are in place before inserting the ball valve back in the machine and replace the retaining clips. 11. reattach the saddle with the two screws that hold the ball valve in place. 12. insert the steam dial actuator and note its orientation when in the off position. it must be the same orientation as it was when withdrawn in 6 above. 13. attach actuator to ball valve with the 10 x 3mm pan head center screw. (if you have to replace suggest stainless steel ) 14. note make sure the actuator is in the off position so as not to foul the micro-switch when inserted. 15. re-attach the micro-switch mechanism as in 3 above and rotate actuator on and off - the micro-switch should be heard to click on and off. 16. re-attach the steam handle with the three self tapping screws. 17. reattach the steam valve plastic cover by gently clipping it back in place 18. replace the upper back panel then the lid with screws that were removed. note back panel lhs screw so the longer one. additional notes removal of the front cable tie holding the wiring form was necessary to gain clear access to ball valve mechanism. symptom the steam handle was extremely hard to operate and it got harder the longer the machine was on. cause fault the actuator seal in the ball valve had failed and a small amount of steam was entering the steam dial actuator. over time this caused the plastic to deteriorate crack and expand against the case. this also rusted most of the screws. the center screw holding the actuator to the ball valve had to be drilled out this was the time chewer. suggestion it would be really nice if the steam dial actuator kit could come with a set of replacement screws. this would have made the job run smoother. paying a few more dollars will be worth it for the convenience. information in reflection if the above symptom does occur again you can be pretty sure your going to require some major issues as i did including replacing the ballvalve saddle screws with self taping ones as the original screw holes were rusted out."
Mark
CHRISTCHURCH
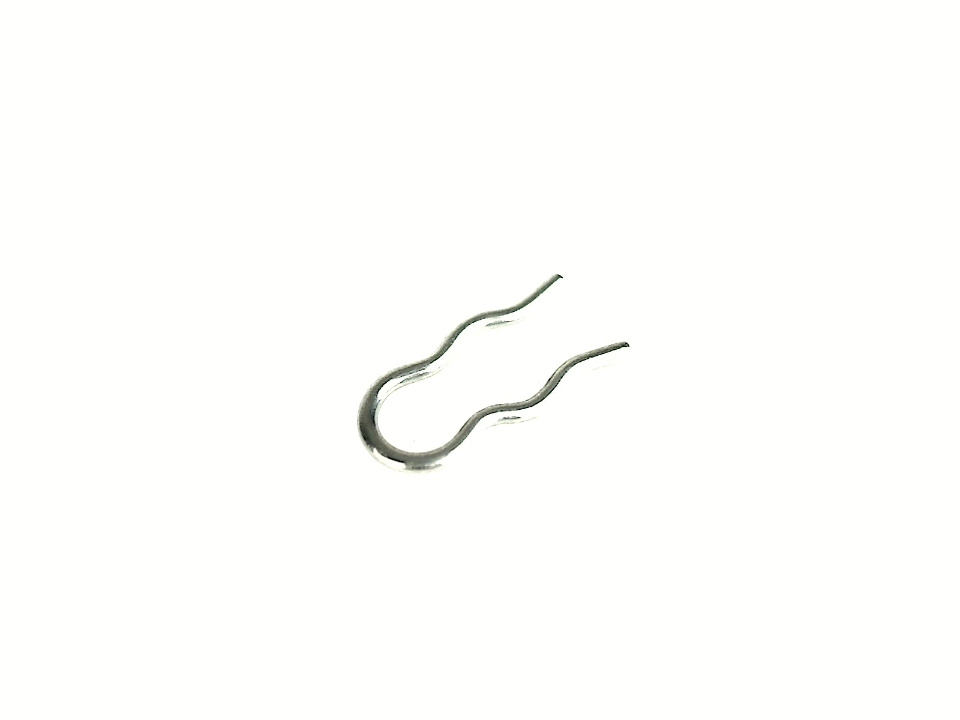
"This was a relatively easy fix. after removing top of machine (2 star screws on rear and 2 philips screws under front near group head) and removing the steam wand control handle (pull off handle cover and remove 4 screws). it was a simple removal of two screws from bracket holding in ball valve and removal of two water pipes (held in by r-clips). insert new ball valve - note you need to re-use the o-ring in the top hose attachment. reassemble and then machine was working as normal once more. note i also had to tighten the bracket holding the ball valve to the machine body since this had become wobbly. this is done by simply bending the metal tabs holding it in place slightly until tight."
Rob
VIC
"These parts were due to corrosion found when replacing steam valve. fairly easy to fit."
John
QLD
"Not a difficult fix. just dont drop the clips."
Eric
METRO MANILA
"Gently force the lever cover out and unscrew center screw that attaches itself to the valve. this removes the lever with the actuator. undo three screws that attaches the lever to the actuator and replace accordingly."
Anthony
QLD
"Simply remove and replace - very easy."

