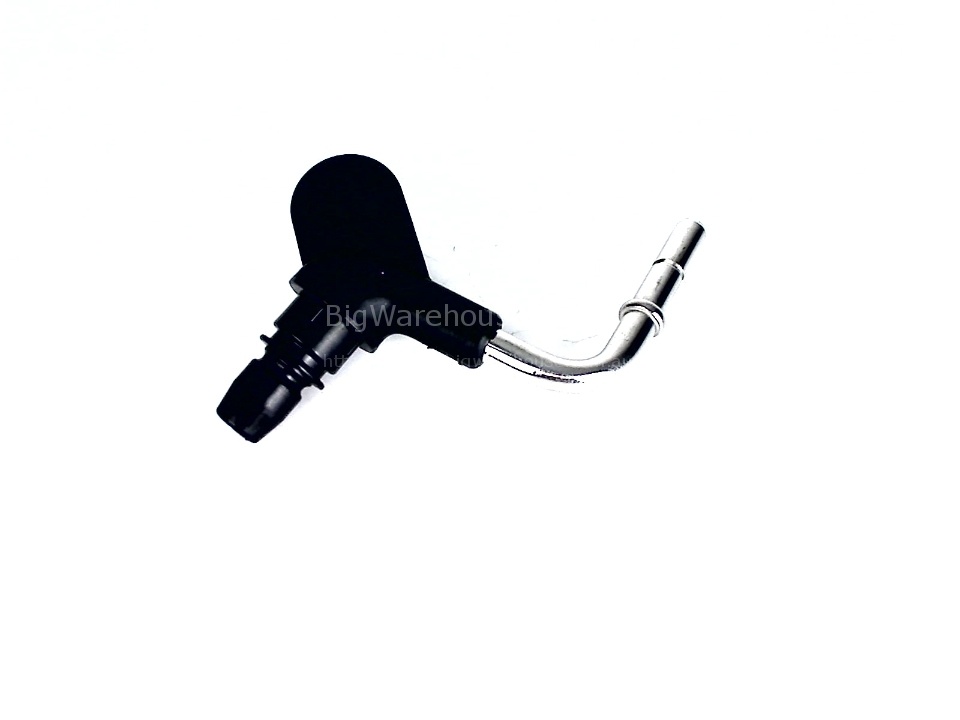
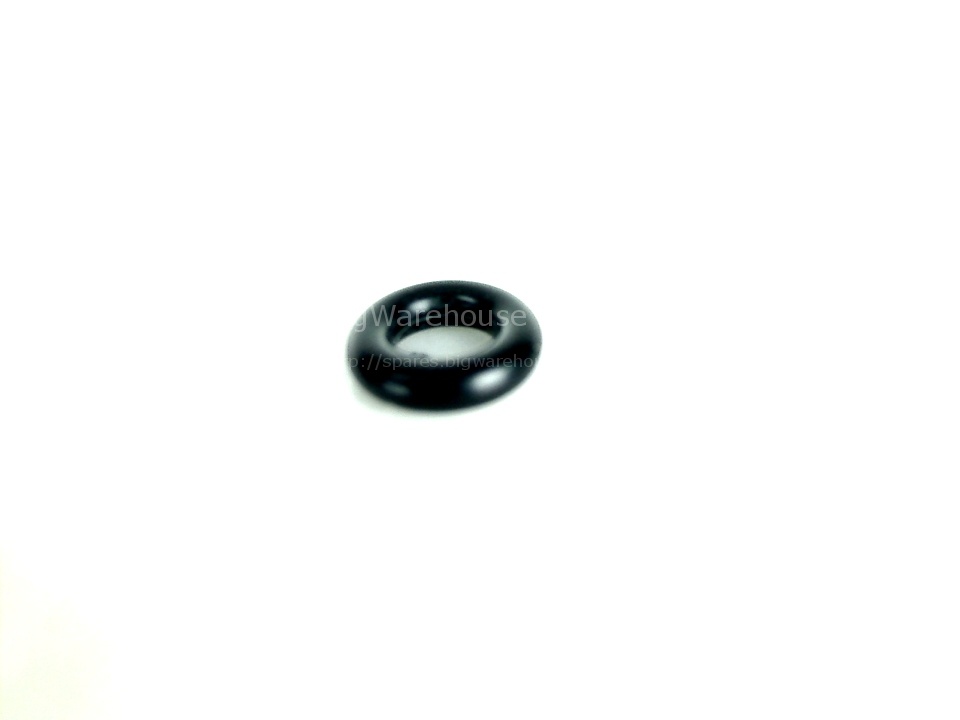
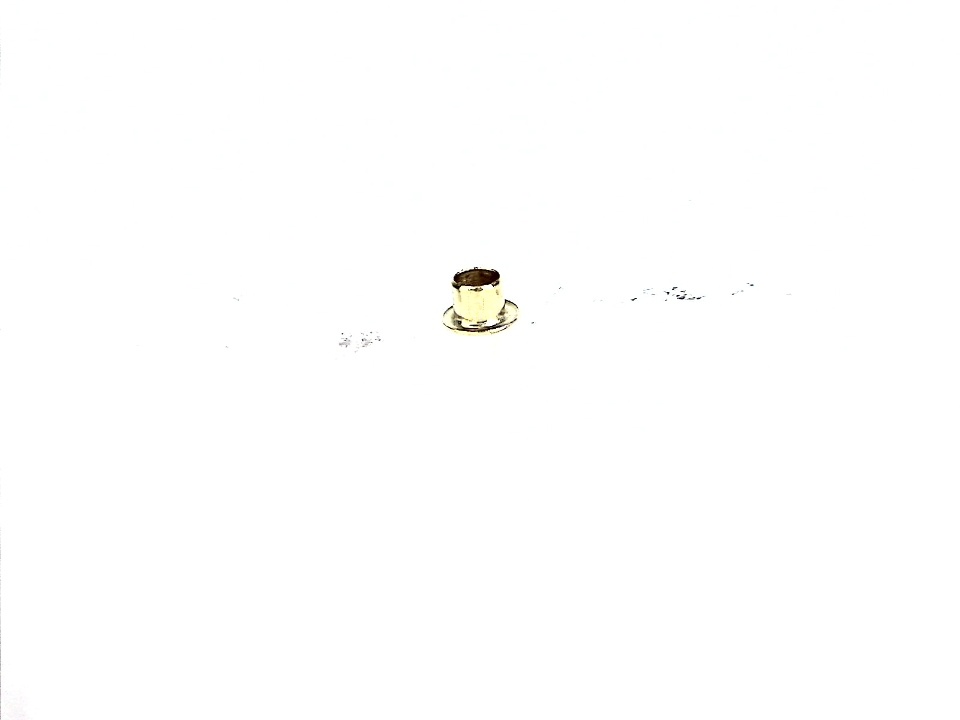
"Remove the lid by taking out the two screws at the back. remove the connector by taking out the two screws holding it down. take out the two wire clips that retain the tubing and o-rings. make sure you retain the valve and seal that fits under the connector. put everything back in the reverse order with the new connector."
CONNECTOR
Location Ref: 39
Exploded diagrams, Schematics and other documents
Installation
Peter
NSW
"Remove the lid by taking out the two screws at the back. remove the connector by taking out the two screws holding it down. take out the two wire clips that retain the tubing and o-rings. make sure you retain the valve and seal that fits under the connector. put everything back in the reverse order with the new connector."
Lucas
QLD
"Replace the connector making sure to replace all o rings. ensure all hoses are removed before removing the connector"
Lucas
QLD
"Replace the connector making sure to replace all o rings. ensure all hoses are removed before removing the connector"
Rod
TAS
"Had to identify the problem first. water was dripping out everywhere. removing the top and turning the appliance on revealed the split was spraying water. the connector comes out by removing the 2 screws at the base. theres a spring inside 2 clips and o rings in the connector which you need to remove and insert into the replacement connector"
Gerard
NSW
"Aaaa"
Gerard
NSW
"Aaaa"
Nathan
NSW
"Remove the top and steam unit. install."
Nathan
NSW
"Remove the top and steam unit. install."

