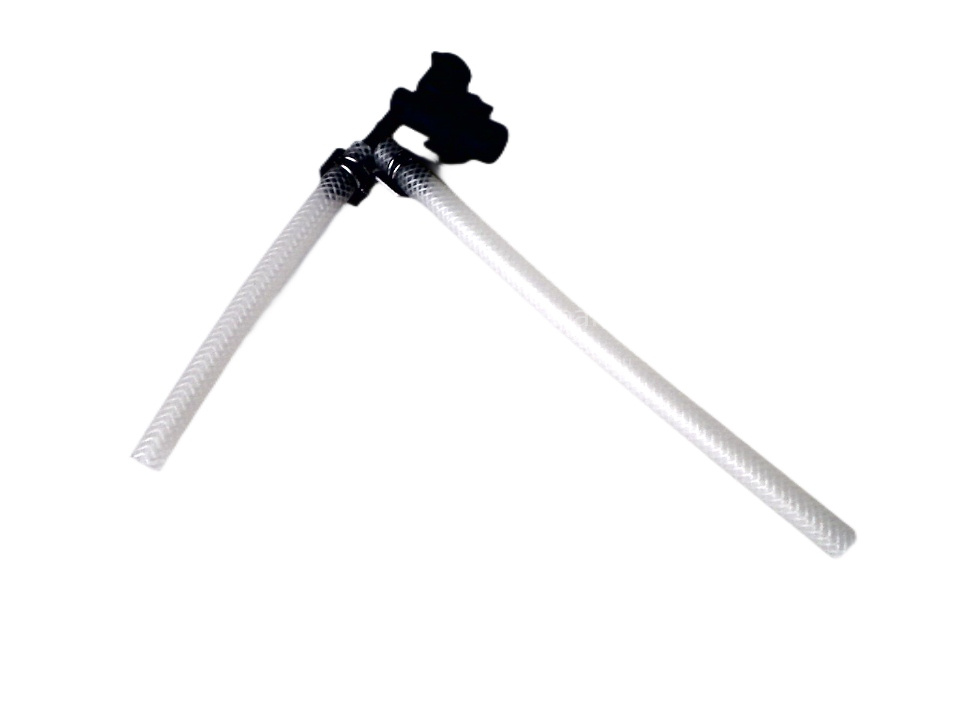
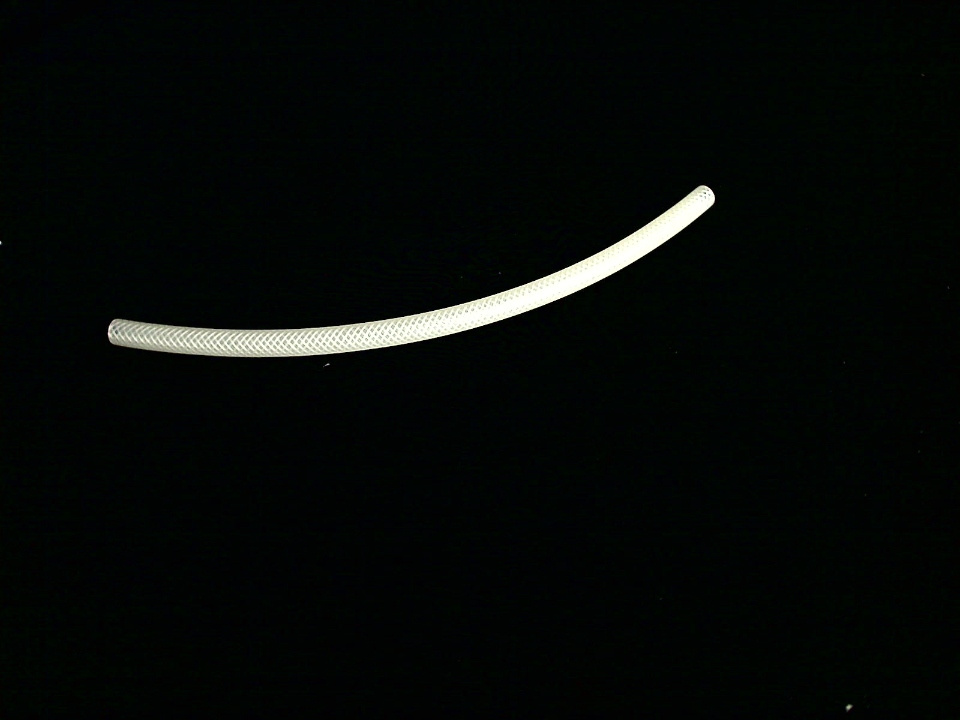
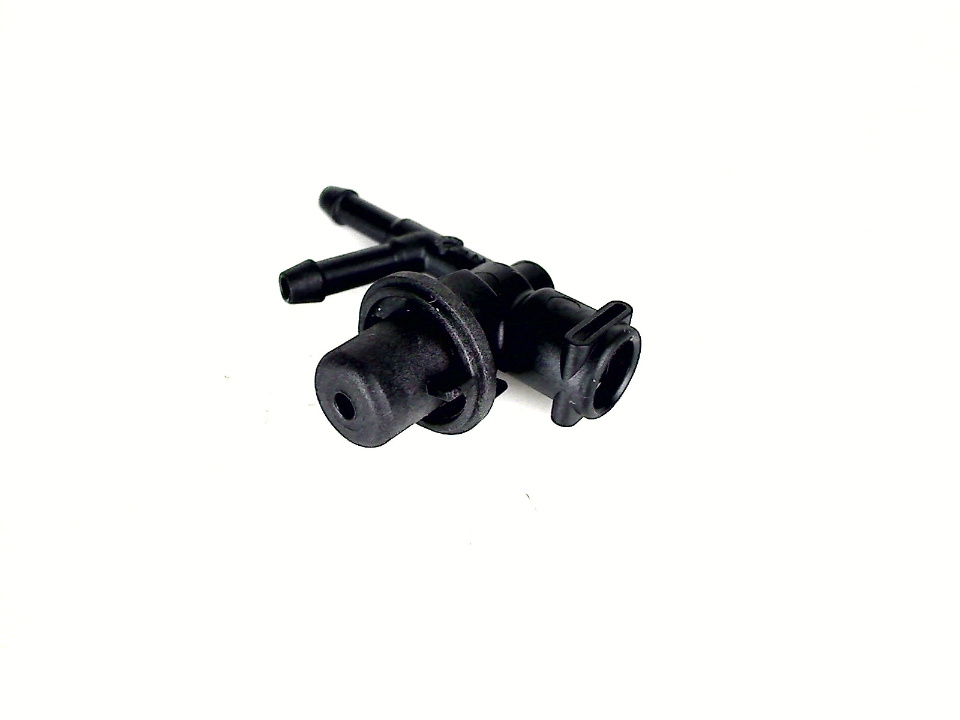
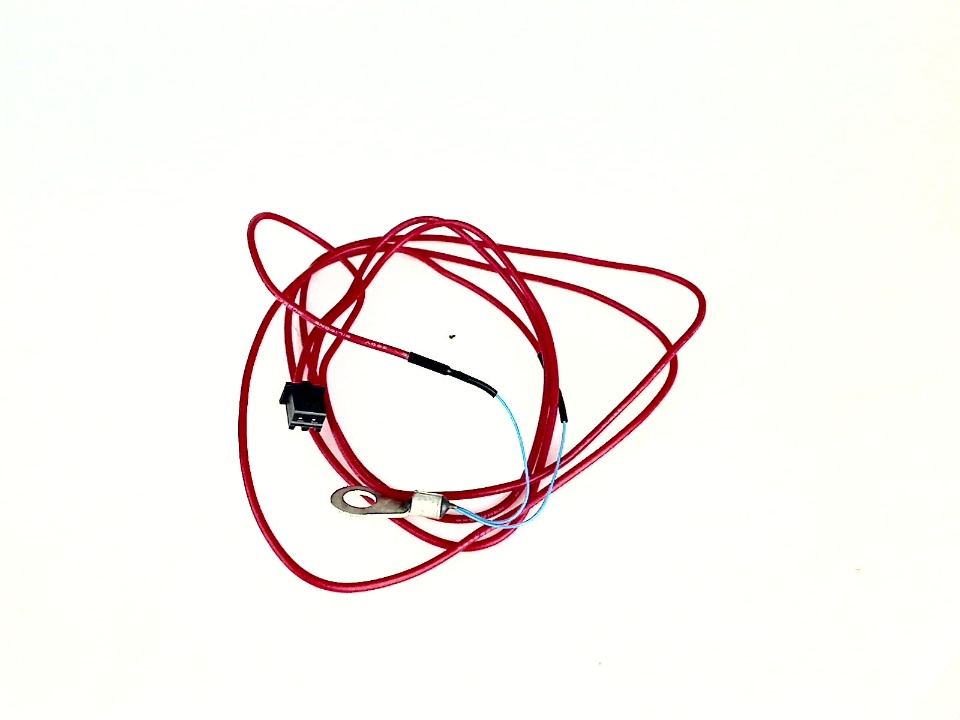
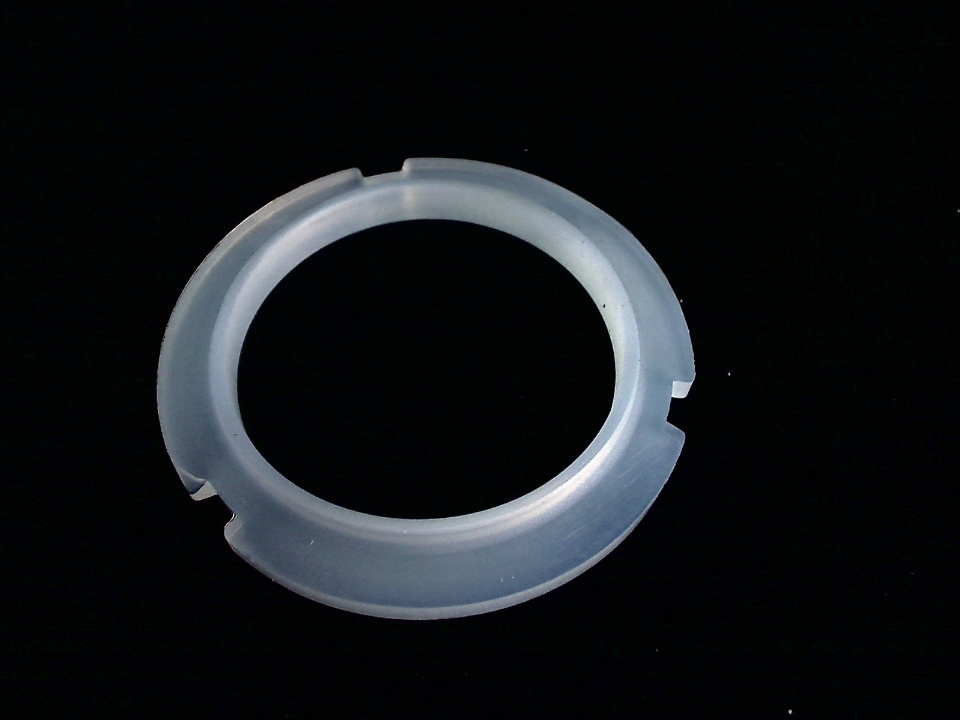
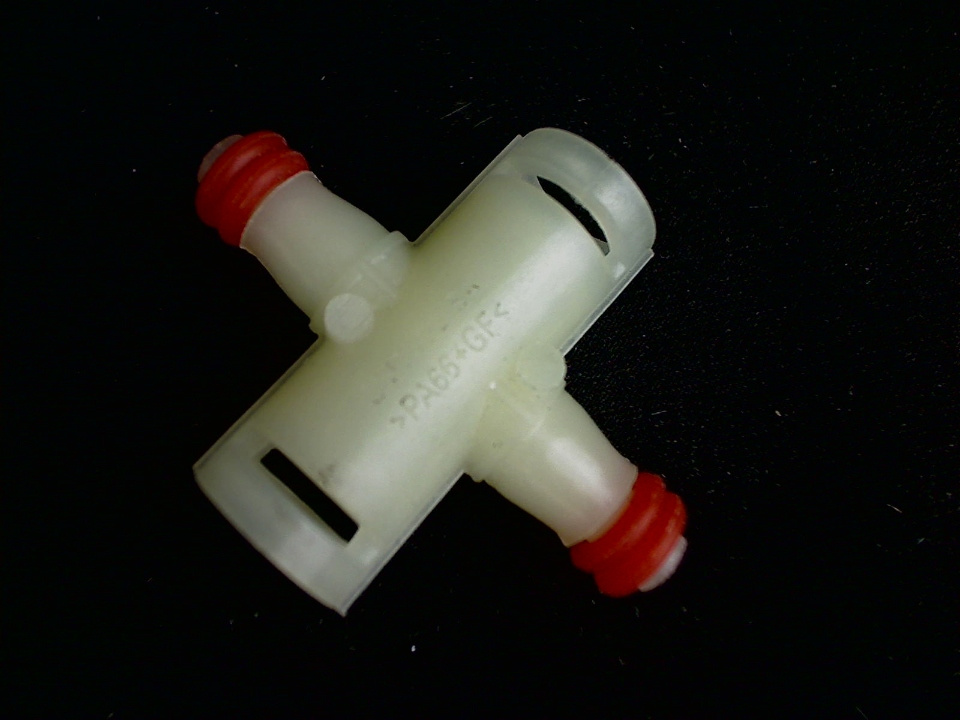
"Very easy replacement of selector switch but make sure you purchase new o-rings as the new part doesnt come with them . i was lucky that o-rings were ok in the old switch. this fault happens due to the top valve cover cracks, im guessing from temperature hence creating channel for water to enter the steam wand channel. group head gasket is very easy to remove and replace"
SWITCH ASSY
Location Ref: 67A
Exploded diagrams, Schematics and other documents
Click on an image to enlarge the exploded view
Installation
Brian
QLD
"Be careful for o rings in all pipes. two in each."
Bruce
VIC
"Needed a tri wing screwdriver to get the two screws that hold the top, these screws are underneath where the outlet is. in my case i hacked an old screwdriver to make it fit and once out i replaced the screws with normal phillips head. make sure you get the o rings out of the old unit and put onto the tubes again. other than that all went well we are now having nice coffee again"
Robert
AUCKLAND
"Only 2 real hurdles - you need a tri-tip screwdriver to open the top cover and it takes some brute force to remove the selector knob. i managed to get a couple of guitar picks wedged under the edge of the knob then just pulled, one hidden clip broke but its gotten from view and doesnt affect anything. the rest of the job is easy. just be careful not to damage the o-rings. they wont need replacing so dont worry about trying to buy those. re-inserting the metal pipe holding pins took some wiggling. the leaking steam wand issue is completely resolved now and full pressure is going to the group head again. nice to have such a good result."
Richard
QLD
"To inspect the selector switch firstly access the inside from the top of the machine by removing the two tri wing screws underneath the front panel. these are not common screws and a screwdriver to do so is a rare thing. made one out of a 4 mm allen key and dremel with grinding stone, cleaning up with a small file. remove the front control knob by popping out using a thin knife or similar. remove the 3 screws to release the selector switch. remove the plastic hoses to remove and keep the orange washes for the new part. reassemble is the reverse process. hint. take a photo of the original part to record which hose goes where."
