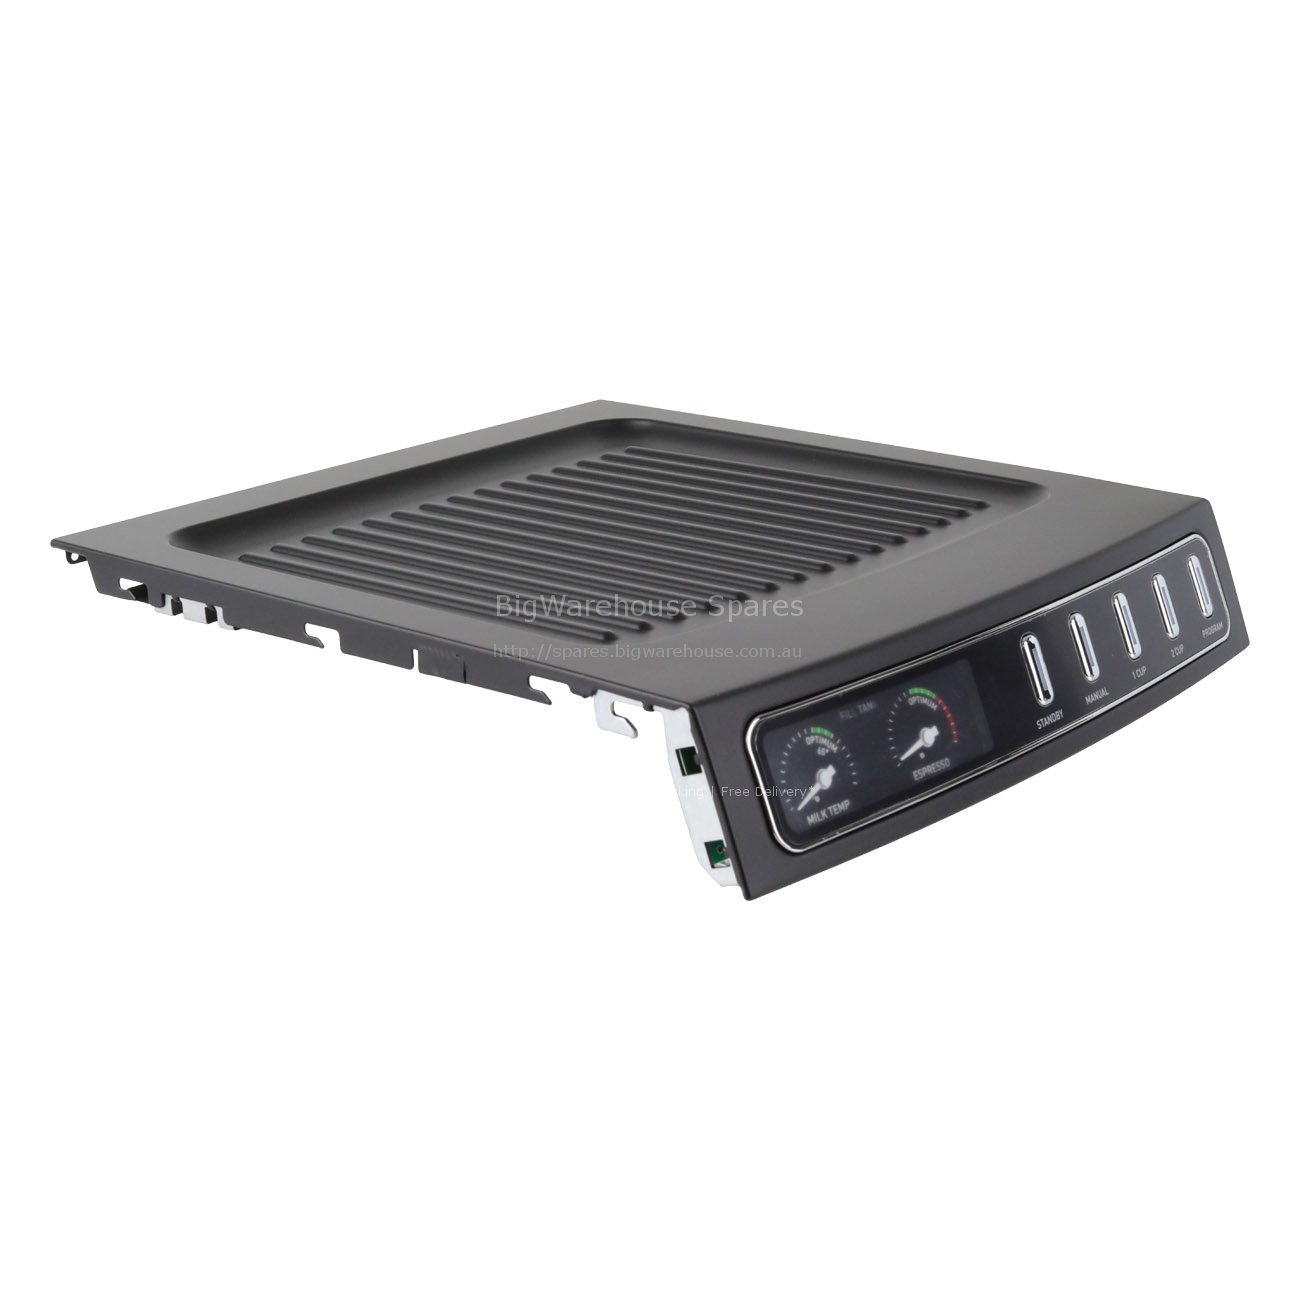
"Remove top to gain access to switch"
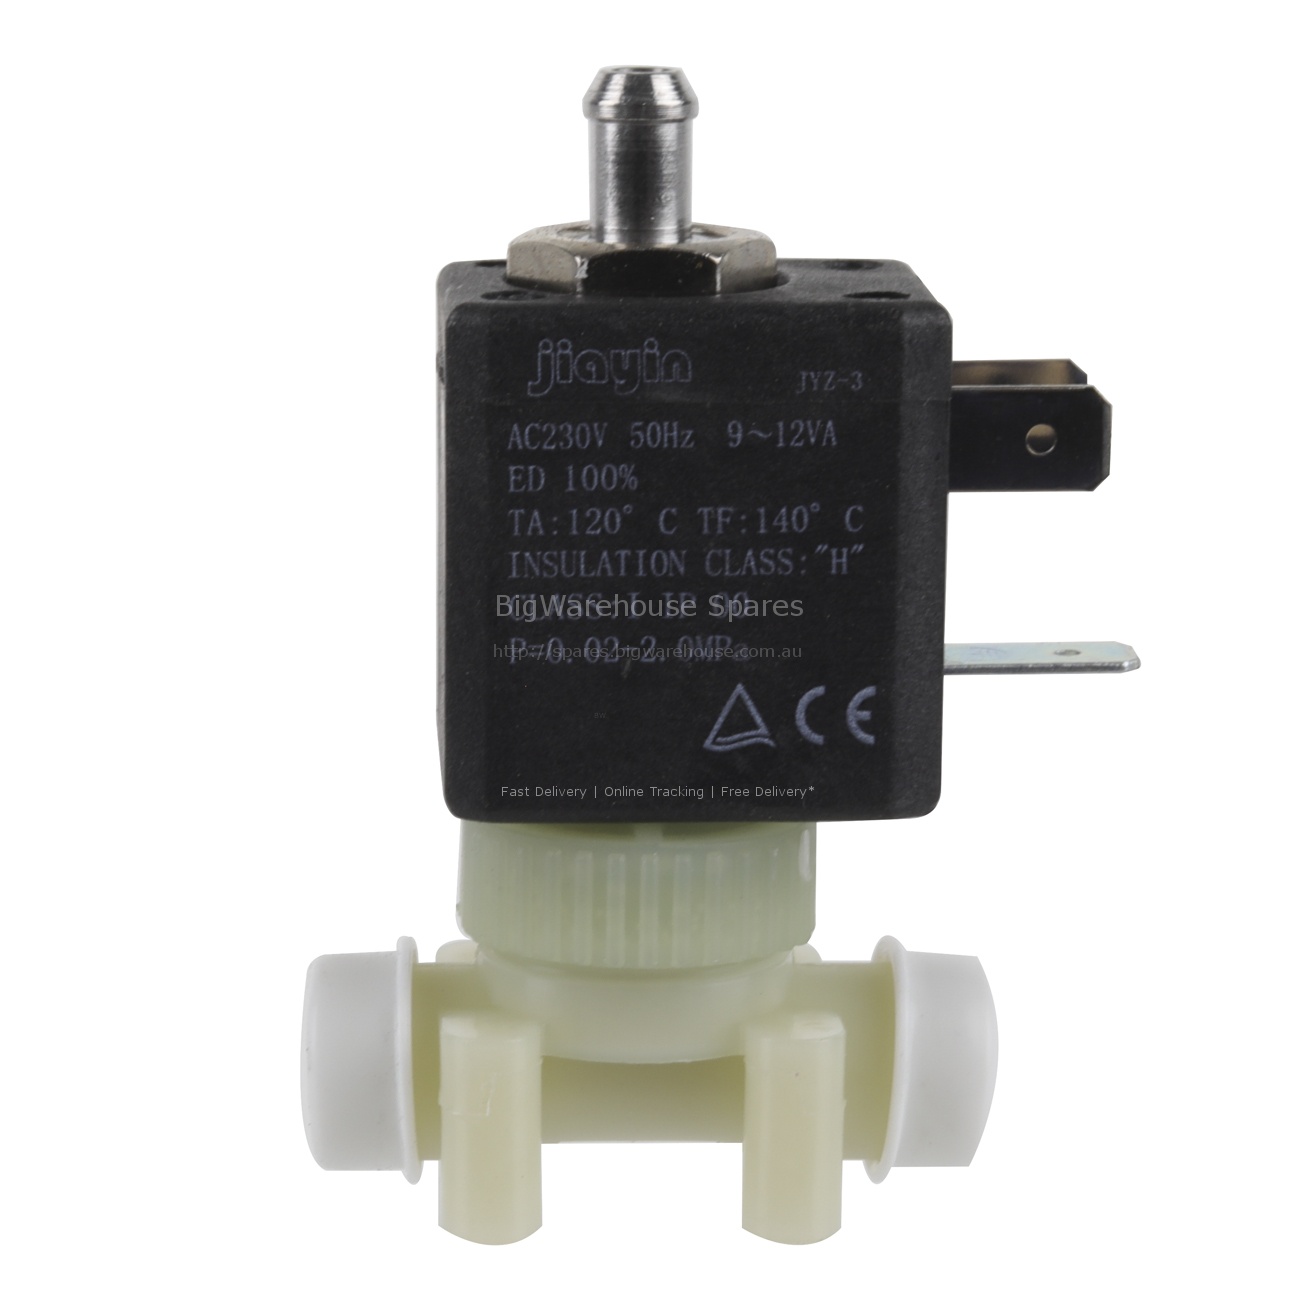
SELECTOR SWITCH ASSEMBLY EM5300
Location Ref: 98A
Exploded diagrams, Schematics and other documents
Click on an image to enlarge the exploded view
Installation
Robert
NSW
"Pull top off and replace part"
Dylan
SA
"Very tedious trying to open the machine without damage. once inside repair was a breeze after diagnosis"
Garry
QLD
"Biggest problem was dismantle coffee machine to access where problem was, part fitment took 30 mins"
Steve
SA
"Simple to replace the selector switch once the top lid was removed. removing the lid with the triangular screws and very tight retaining clips was the hard bit. just need to remember to transfer the existing o ring seals on the pipes as they dont come with the switch."
Zachary
VIC
"Very difficult - start by removing screws under the front interface. they are very deep tri wing screws."
Zachary
VIC
"Very difficult - start by removing screws under the front interface. they are very deep tri wing screws."
David
QLD
"Moderate effort involved. long 3 point screwdriver to remove two security screws under grinder. remove base screws and base, remove 5 screws holding back plate near water tank inlet, remove top and back. note tight clips, remove screws holding front panel onto machine. now access to selector switch is possible and 3 screws holding it. switch slide out once screws removed. two clips hold water pipes - plier needed to straighten wire clip. two hoses to remove. recover and reuse orange o rings. fit to pipes before reinserting 4 wires to carefully remove and reinstate. may need pliers. reinstate in reverse order after clean."
Aimee
VIC
"See detailed instructions from david on this part notes - followed that hardest part is getting it open i undid visible screws and used phillip head to pry the top up (lifting up from the back towards the front) and then the two sides. works great now"
Neil
MANAWATU
"Biggest problem was disassembling the machine to get to part"
