"Disassemble relay solenoid valve, clean and descale"
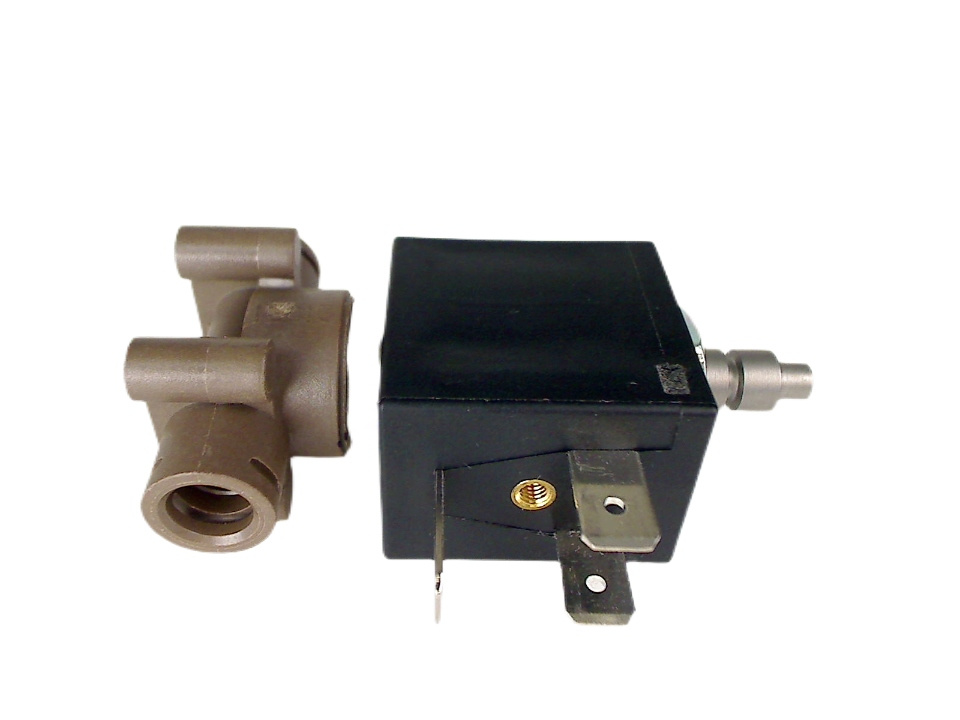
SOLENOID VALVE ASSY - EM7000
Location Ref: 12
Exploded diagrams, Schematics and other documents
Click on an image to enlarge the exploded view
Installation
Jens
NSW
"Machine off, unplugged. watch youtube to see how to open the top. once you are sure all the screws are out it might require a little bit of force to slide the top back far enough to come up and out. disconnect wiring and tubing from three-way valve. one tube is flared the other secured with a small clip. undo three little screws holding down hot water wand. undo the valve assembly from the hot water wand utilising the three position notches to hold the wand in place while carefully rotating the valve assembly counter-clockwise. reposition on the notches and repeat as necessary. clean parts. push in tube and secure with clip. if trouble pushing in use a small screwdriver to push down on the back of the brass ferrule. from here just work backwards. i used a little bit of teflon tape when putting back the wand. make sure you reconnect the earth wire once its back together it would be good practice to use a megger to ensure the coffee machine remains properly earthed."
Allan
QLD
"It was very doable for someone with the basic understanding of hydrological movement required for a coffee machine."
Shaun
VIC
"This solenoid controlled flow between the hot tap and the group head. replacement worked however two things to be aware of. there is a small blue o-ring for one of the hose connections that is not included i had to fish the old one out of the old solenoid, sealed fine once reinstalled. the threaded brass fittings on this part as supplied did not have any thread sealing tape only discovered once installed and tested. had to strip it back out remove the brass elbow to apply thread seal tape then reassemble. once reassembled i ran several shots carefully with the cover off to test for leaks (thats how i found the above problems). strongly recommend testing it this way otherwise you could end up with water leaking onto the electricals."
Wendell
NSW
"The cleaning and seal replacement is relatively straightforward. follow instructions in the manual for cleaning. the seal replacement can be done as part of cleaning the shower head. using a no.2 phillips-head screwdriver remove the shower head, grip the old seal and pull it out, clean everything then replacement is the reverse order. there are only a few videos on youtube but they give you a general idea of what to do. i havent tackled the solenoid yet its a job for another day."
Richard
SA
"Solenoid valve not working"
Dave
QLD
"Remove top cover to replace leaking pressure dump solenoid on group head. maybe better to replace group head with solenoid as a complete part if still available as complete. remove bottom cover to replace coffee pump and noise damper. dont remove noise damper if ok and no blockages. unscrew pump from damper because hose frame damper is hard to reseal."
Leo
SA
"Remove top tray, disconnect leads, remove overflow pipe, unbolt solenoid, and re-fit"
Michelle
QLD
"Simple procedure - pull off the hoses and switches (being sure to capture where they all go back), loosen and remove the old solenoid, install new solenoid and reattach hoses and switches. there is a pin associated with one hose - be sure to replace that tightly and also use plumbers tape on the threads to stop any leaking. consider buying the solenoid with new hot tap already attached - it is slightly more expensive, but that would have been easier."
Terry
QLD
"Self explanatory"
