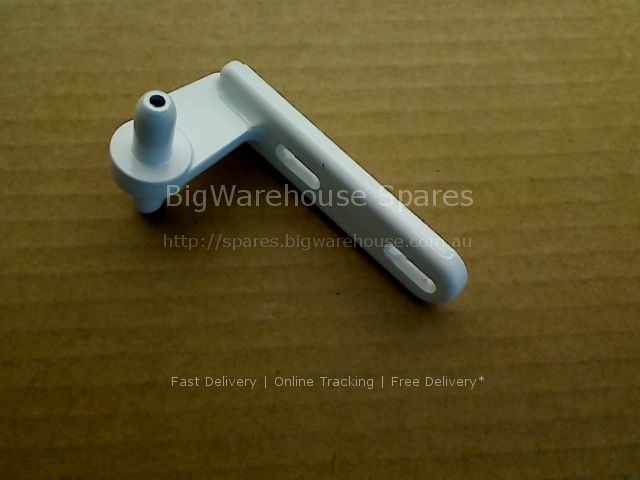
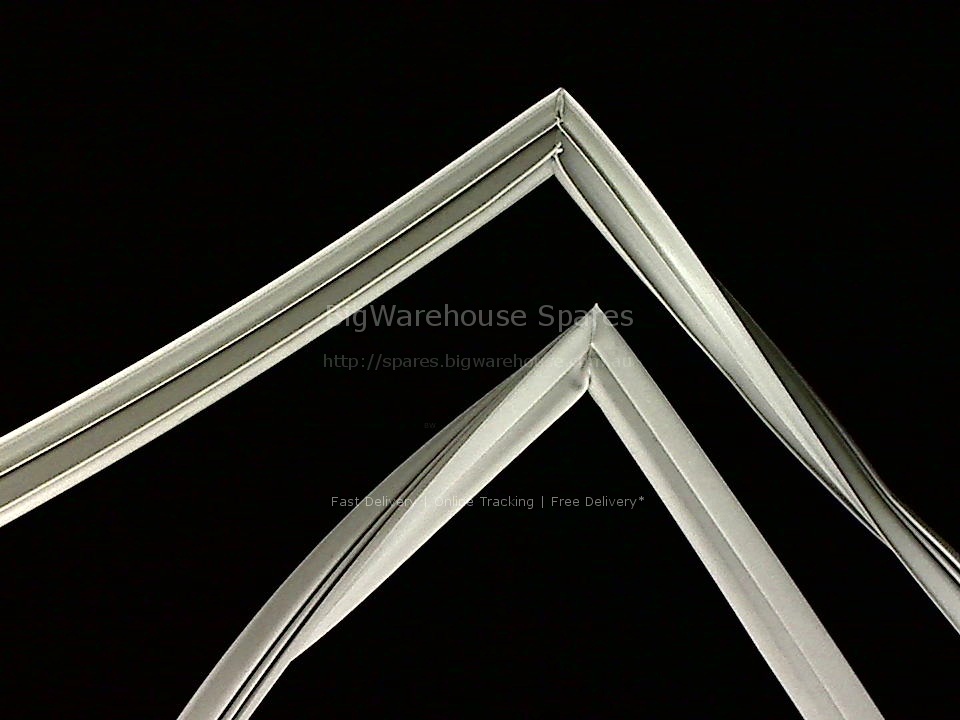
"For fridge i removed all shelves and butter holder and gave them a good clean. then i only removed the hex screws on the sides and bottom of the facing that secures the seal and just loosened the screws along the top edge. then i could easily remove the old seal, give the interior facing a good wipe and position the new seal around the edges of the facing. after making sure the lip of the new seal was sitting properly in the groove of the facing i re-inserted and tightened all the screws. for the freezer i removed the facing completely in order to remove the ice that had built up behind it. i used a hair-dryer to melt off any stubborn ice. then i could close the door on the freezer without seal or facing to keep it cold while i attached the seal around the edge of the facing. because it is smaller it is a little tighter to fit but easily done on the kitchen table. this also allowed me to repair some cracks in the bottom edge of the facing using fabric tape. then i fitted the seal and facing back on the door and inserted and loosely tightened four corner screws and then went around again replacing and fully tightening all the other screws again checking that the seal ridge is inside the facing groove. note that some of the screws that align with the handles are a heavier thread although they are still 6mm hex screws. i greased the magnetic part of both seals with silicone grease i believe that some people prefer to use talc to help them seat properly when the doors are closed. it took a couple of days before the seals sat properly along all sides but they eventually adjust to the slight warping of the doors sometimes giving them a bit of help when closing the doors."
DOOR GASKET FRIDGE
Location Ref:
Exploded diagrams, Schematics and other documents
Click on an image to enlarge the exploded view


